

 Message Template Tips for Appointment Reminders
When you first sign-up for SMS Client Reminders or take a free trial, you will find standard SMS and Email templates have been created to help you get started. These templates can be modified to meet your individual requirements and these guidelines will help you make the most of the template editor and create the best appointment reminder messages for your organization - whatever industry you're in.
Composing your reminder message
Template 1 is the default template created for you in the SMS and Email Settings and which you can change at anytime as required. We will focus on creating this template in this tutorial. You can also create more templates and this is explained in the tutorial Creating and Using Multiple Message Templates.
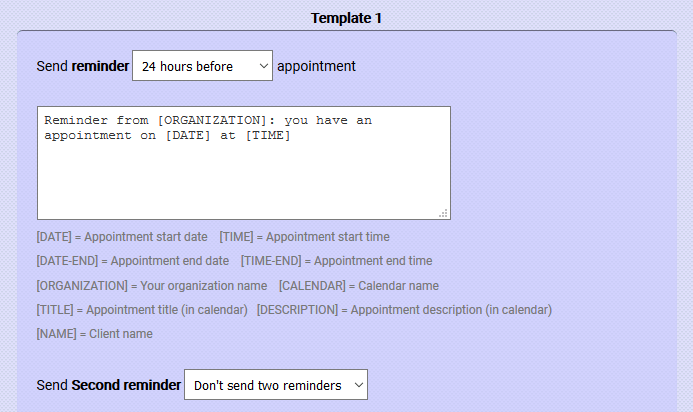
Firstly, you can choose the timing of your SMS and email reminders. For example, you may choose to send each client an Email reminder say 7 days before each appointment, and an SMS reminder 24 hours before each appointment. The choice is yours, but we recommend that you use an Email reminder for the first and less urgent reminder, then an SMS reminder for the second and more urgent reminder.
For Email reminders, you can also edit the Subject line for each template as appropriate for your requirements. You should also add your own Return email address so that if users reply to a reminder email, it will get sent to this email address directly. Your company name will be used for the email 'From' field, so make sure it is accurate.
Please note, each SMS reminder incurs one or more credits against your monthly usage. Email reminders do not incur any credits so are sent free of charge however if you don’t want to send any Email reminders you can turn off this function by deselecting the field marked Send Email reminders. It is not possible to send only email reminders - they are only in addition to a text reminder.
There are several commands which can be used to automatically select standard variables from your account, client and appointments data. These commands are:
[DATE] = Appointment start date
[TIME] = Appointment start time
[DATE-END] = Appointment end date
[TIME-END] = Appointment end time
[DAY] = Appointment start day of the week (e.g. Monday)
[DAYSHORT] = Appointment start abbreviated day of the week (e.g. Mon)
[ORGANIZATION] = Your organization name
[CALENDAR] = Calendar name *
[TITLE] = Appointment title (taken from calendar) *
[DESCRIPTION] = Appointment description (taken from calendar) *
[LOCATION] = Appointment location (taken from calendar) *
[NAME] = Client name
[DATE-OLD] = Previous Appointment start date **
[TIME-OLD] = Previous Appointment start time **
* These commands are not applicable if you manually enter an appointment (rather than link to a calendar).
** These commands only apply to the "Update" message (sent when an appointment is moved).
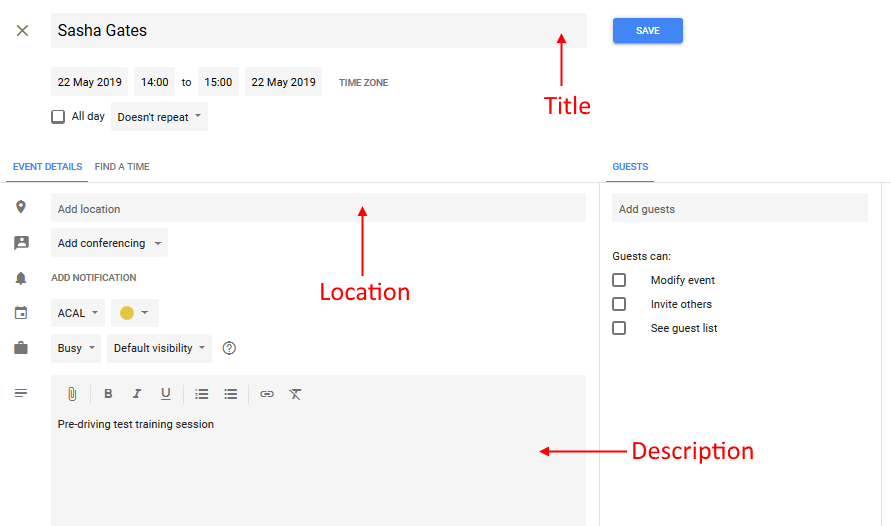
You can include as many or as few of these commands as you require within each message template. The [TITLE] command extracts the appointment title (as recorded in your calendar) whilst the [DESCRIPTION] command extracts the appointment description. Similarly the [LOCATION] command reads in whatever value you have entered in the Location field of the calendar appointment. Note that when using the title the client name is removed. So a title of 'Sasha Gates Introductory session' would add the text 'Introductory session' to the message. The Title, Description and Location fields in a Google calendar appointment are illustrated in the image below.
Please note the number of credits used per message depends on its length. A single SMS text has a maximum of 153 characters, so using more than that will incur more than one credit. You can limit your messages to a single SMS by selecting Yes in the field marked Limit message length to single SMS. If you select this option you should test your SMS message to make sure it is not being truncated. The number of credits a particular message will incur is displayed in the Reminders page.
If you want to include an internet URL web address in your SMS or Email templates then your account must first be verified by our admin team to avoid any abuse of this facility. If your account has not already been verified then you can request this by using the Support Form on the website.
You can choose to send a 2nd and 3rd reminder message if required, by selecting the times you want to send these and whether you want to send the same or a different message. This feature is explained in more detail in the tutorial Creating and Using Multiple Message Templates.
Additional messages (optional)
Initial Confirmation Message (sent when appointment is created*)
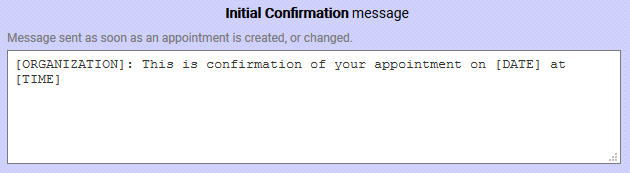
You can create a Confirmation Message template if you want to send a confirmation as soon as an event/appointment is created (or updated).
To enable this option, go to Settings > Advanced and select Yes for the field marked Send an initial confirmation message?.
When turned on the following text box will be displayed in the Template section, allowing you to edit the message as required.
* Please note: Reminders and messages are only set up for Appointments occurring in the next 30 days. So if you have turned on Initial confirmation messages, and you create an appointment 40 days in the future, the initial confirmation message won't get sent for 10 days (that is, until the appointment is only 30 days away). If you typically create appointments many months in advance, please bear this in mind.
Updated Appointment message (sent when appointment changes and a reminder has already been sent)
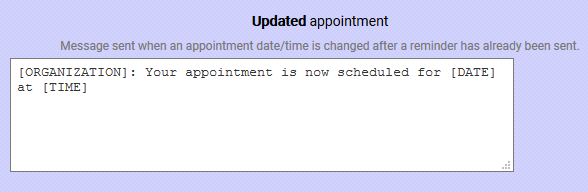
You can also create an Updated Appointment Message template to be used when an appointment date/time is changed after a reminder has already been sent. If you want to enable this option, then go to Settings > Advanced and select Yes for the field marked Send a message update if appointment time changes?. When selected the following text box will appear in the Template section, allowing you to edit the update message.
Cancellation Message (sent when an appointment is deleted)
You can also choose in the Advanced section of Settings whether to:
a) Send a cancellation message if appointment is deleted and...
......a reminder HAS already been sent?
b) Send a cancellation message if appointment is deleted and...
......a reminder HASN'T already been sent?
Please note that Cancellation messages ALWAYS need to be verified manually, and only apply to appointments that are due within two weeks.
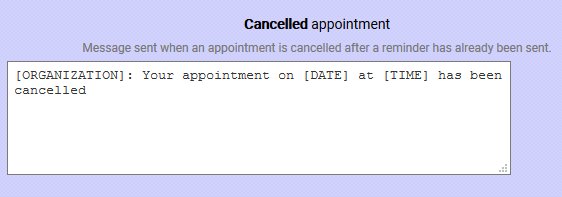
If you turn on one or both of the above cancellation message options then the text used for the messages will appear in the SMS and email template sections. You can edit the cancellation message as required.
Follow Up Message (sent after the appointment is completed)
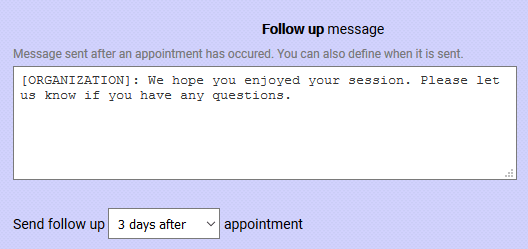
You can create a Follow Up Message template if you want to send messages after the event/appointment has been completed. If you want to enable this option, then go to the Advanced settings and select Yes for the field marked Send a follow up message?. You can then click the link below this field to create your Follow Up Message Template and choose the number of days after the appointment to send the message. The following text box will available in the Template section.
In summary, you can specify up to five SMS messages per appointment (and the same for emails):
Initial confirmation ----> Reminder 1 ----> Reminder 2 ----> Reminder 3 ----> Follow up
The only required message is Reminder 1, the rest are optional.
Other tips
Once you have completed the content of your SMS and Email templates, make sure that you check the additional SMS and Email settings which will apply for each of your messages. For example, for SMS messages you can choose to:
- Only send reminders between Min hours and Max hours (select the appropriate times to avoid waking people up)
- Limit message length to single SMS. Warning: If you select 'No' and a message is more than 153 characters it will use up 2+ credits
- Ask client to confirm appointment? Adds 'Reply Y to confirm' at end of text (to get confirmation from client they can attend). Warning: Each confirmation sent uses 1 credit. Due to SMS limitations this might not work reliably if you have multiple upcoming appointments for a given client
- Allow client to opt-out of reminders? Adds 'Reply O to opt-out' to reminder, so user can stop receiving texts. Each opt-out uses 1 credit
- Receive an alert when someone replies via SMS? Warning: Each reply you receive uses credits, regardless of whether this option is turned on
- SMS credits warning threshold. When credits fall below this value it sends a warning email to you
- In some countries you can also choose an Alphanumeric Sender ID. Max 11 characters, A-Z and 0-9 only, at least one letter. Display your company name instead of the 'From' number. Warning: Users CANNOT confirm or reply to messages sent with an alphanumeric sender ID - they are one-way!
- After making your changes, please remember to click the SAVE button in order to commit your selections to the database. You can make changes at anytime, just make sure you click SAVE each time
Hopefully the above tips can help you create the best appointment reminders suited to your particular set up. The various options provide plenty of flexibility but if you're confused or have any other questions just let us know.
